6
Chapter 6
Setting Up Your Database
Before you can continue working on your dashboard, you'll need some data. In this chapter, you'll be setting up a PostgreSQL database from one of Vercel's marketplace integrations. If you're already familiar with PostgreSQL and would prefer to use your own database provider, you can skip this chapter and set it up on your own. Otherwise, let's continue!
In this chapter...
Here are the topics we'll cover
Push your project to GitHub.
Set up a Vercel account and link your GitHub repo for instant previews and deployments.
Create and link your project to a Postgres database.
Seed the database with initial data.
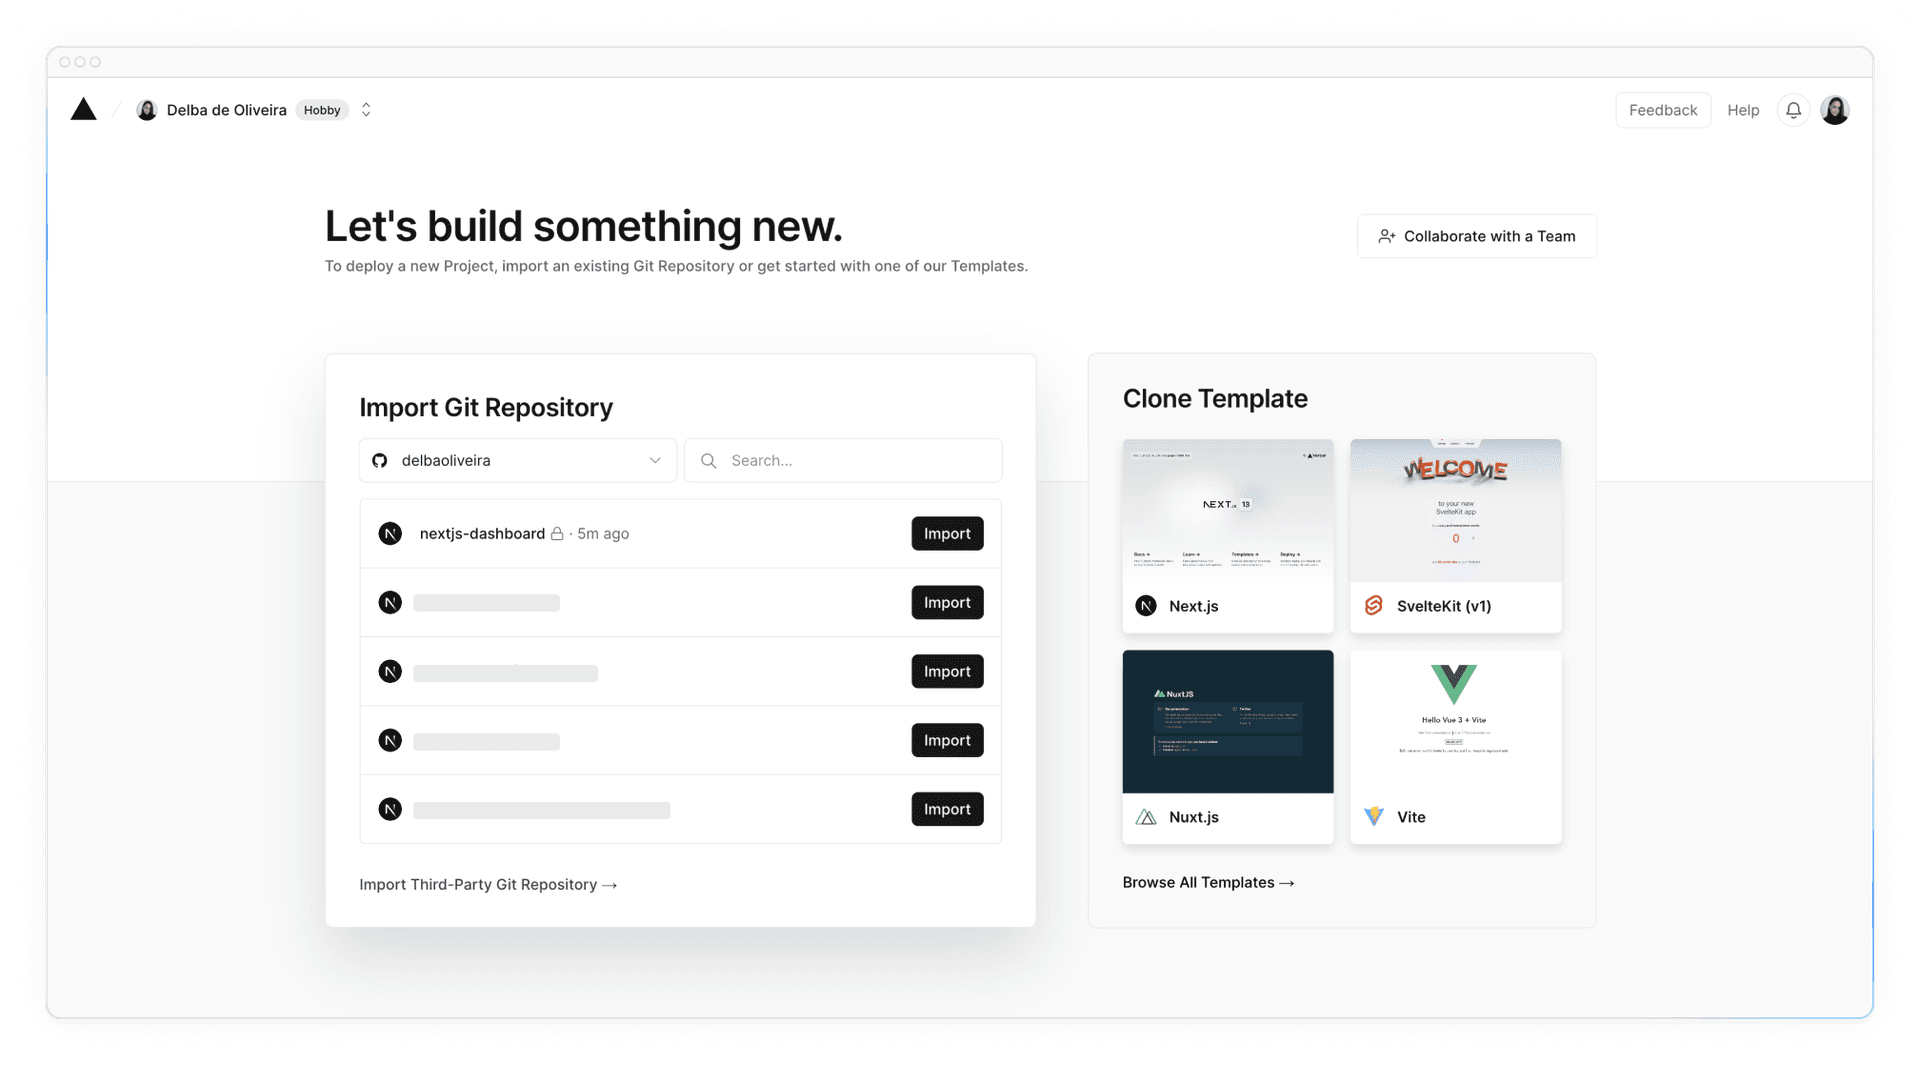
Create a GitHub repository
To start, let's push your repository to GitHub if you haven't already. This will make it easier to set up your database and deploy.
If you need help setting up your repository, take a look at this guide on GitHub.
Good to know:
- You can also use other git providers like GitLab or Bitbucket.
- If you're new to GitHub, we recommend the GitHub Desktop App for a simplified development workflow.
Create a Vercel account
Visit vercel.com/signup to create an account. Choose the free "hobby" plan. Select Continue with GitHub to connect your GitHub and Vercel accounts.
Connect and deploy your project
Next, you'll be taken to this screen where you can select and import the GitHub repository you've just created:

Name your project and click Deploy.


Hooray! 🎉 Your project is now deployed.
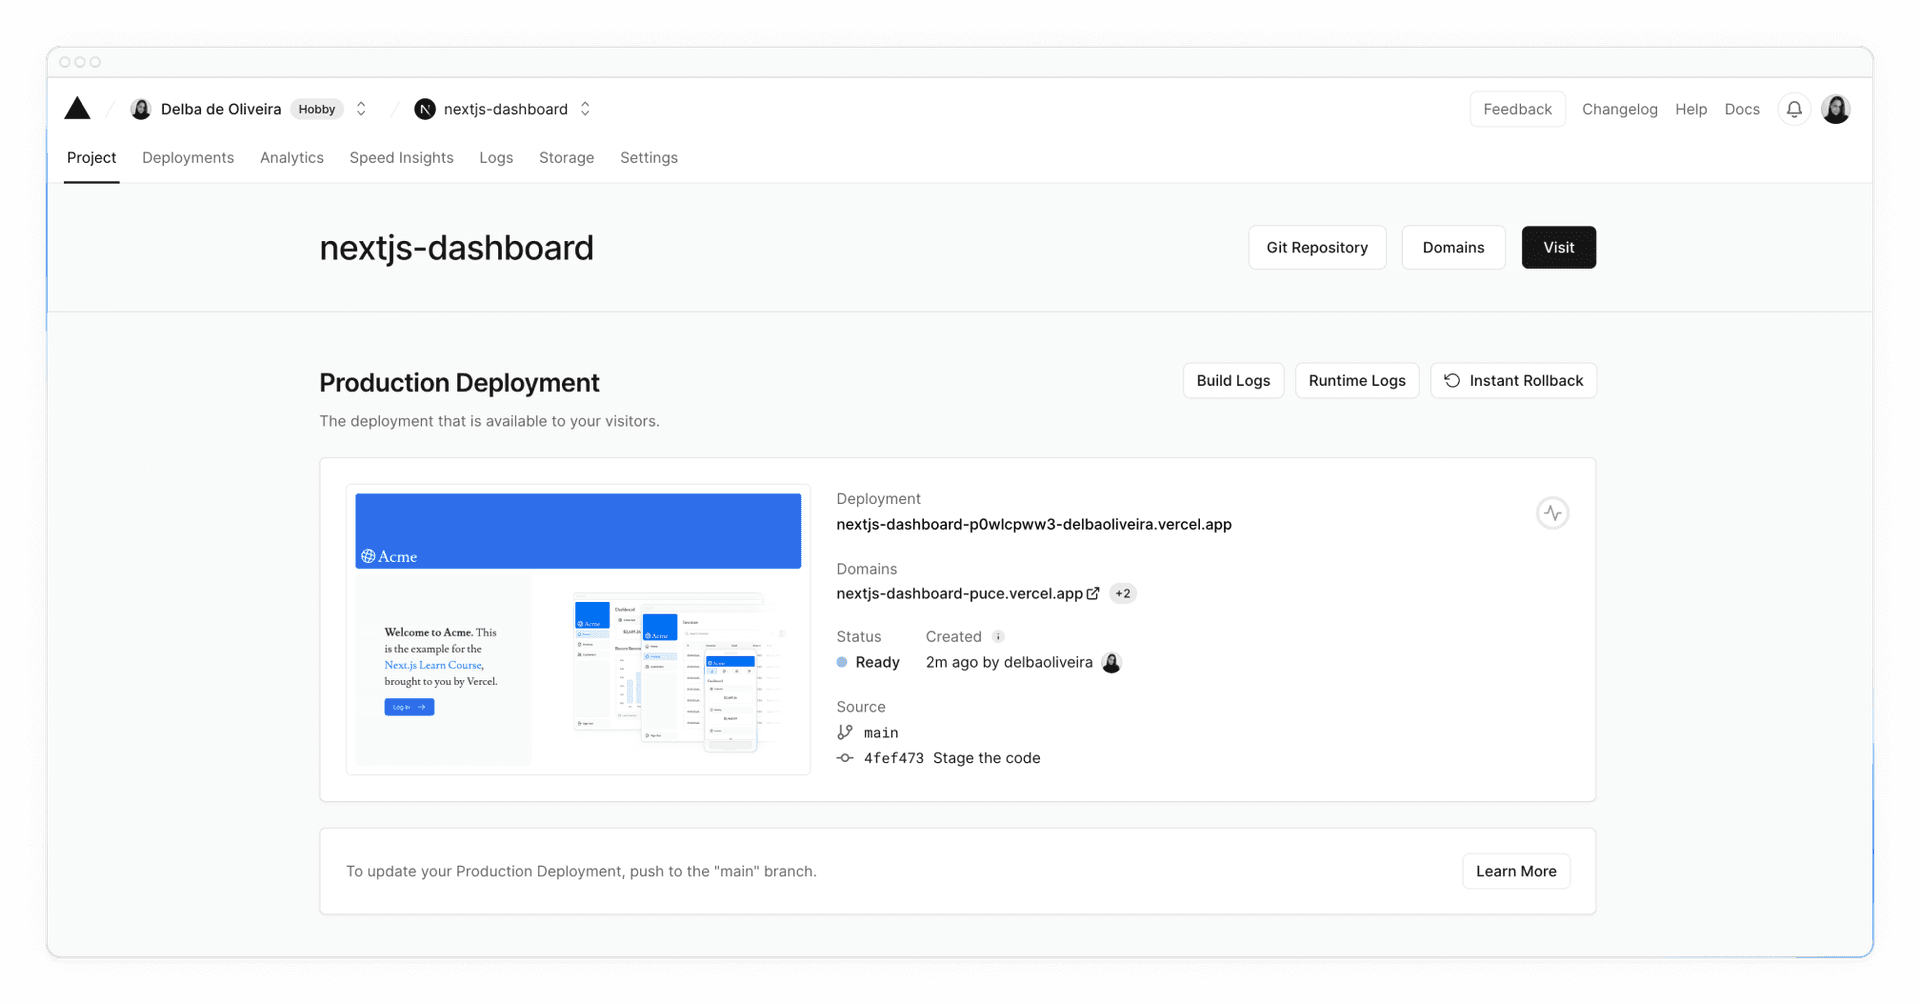

By connecting your GitHub repository, whenever you push changes to your main branch, Vercel will automatically redeploy your application with no configuration needed. When opening pull requests, you'll also have instant preview URLs which allow you to catch deployment errors early and share a preview of your project with team members for feedback.
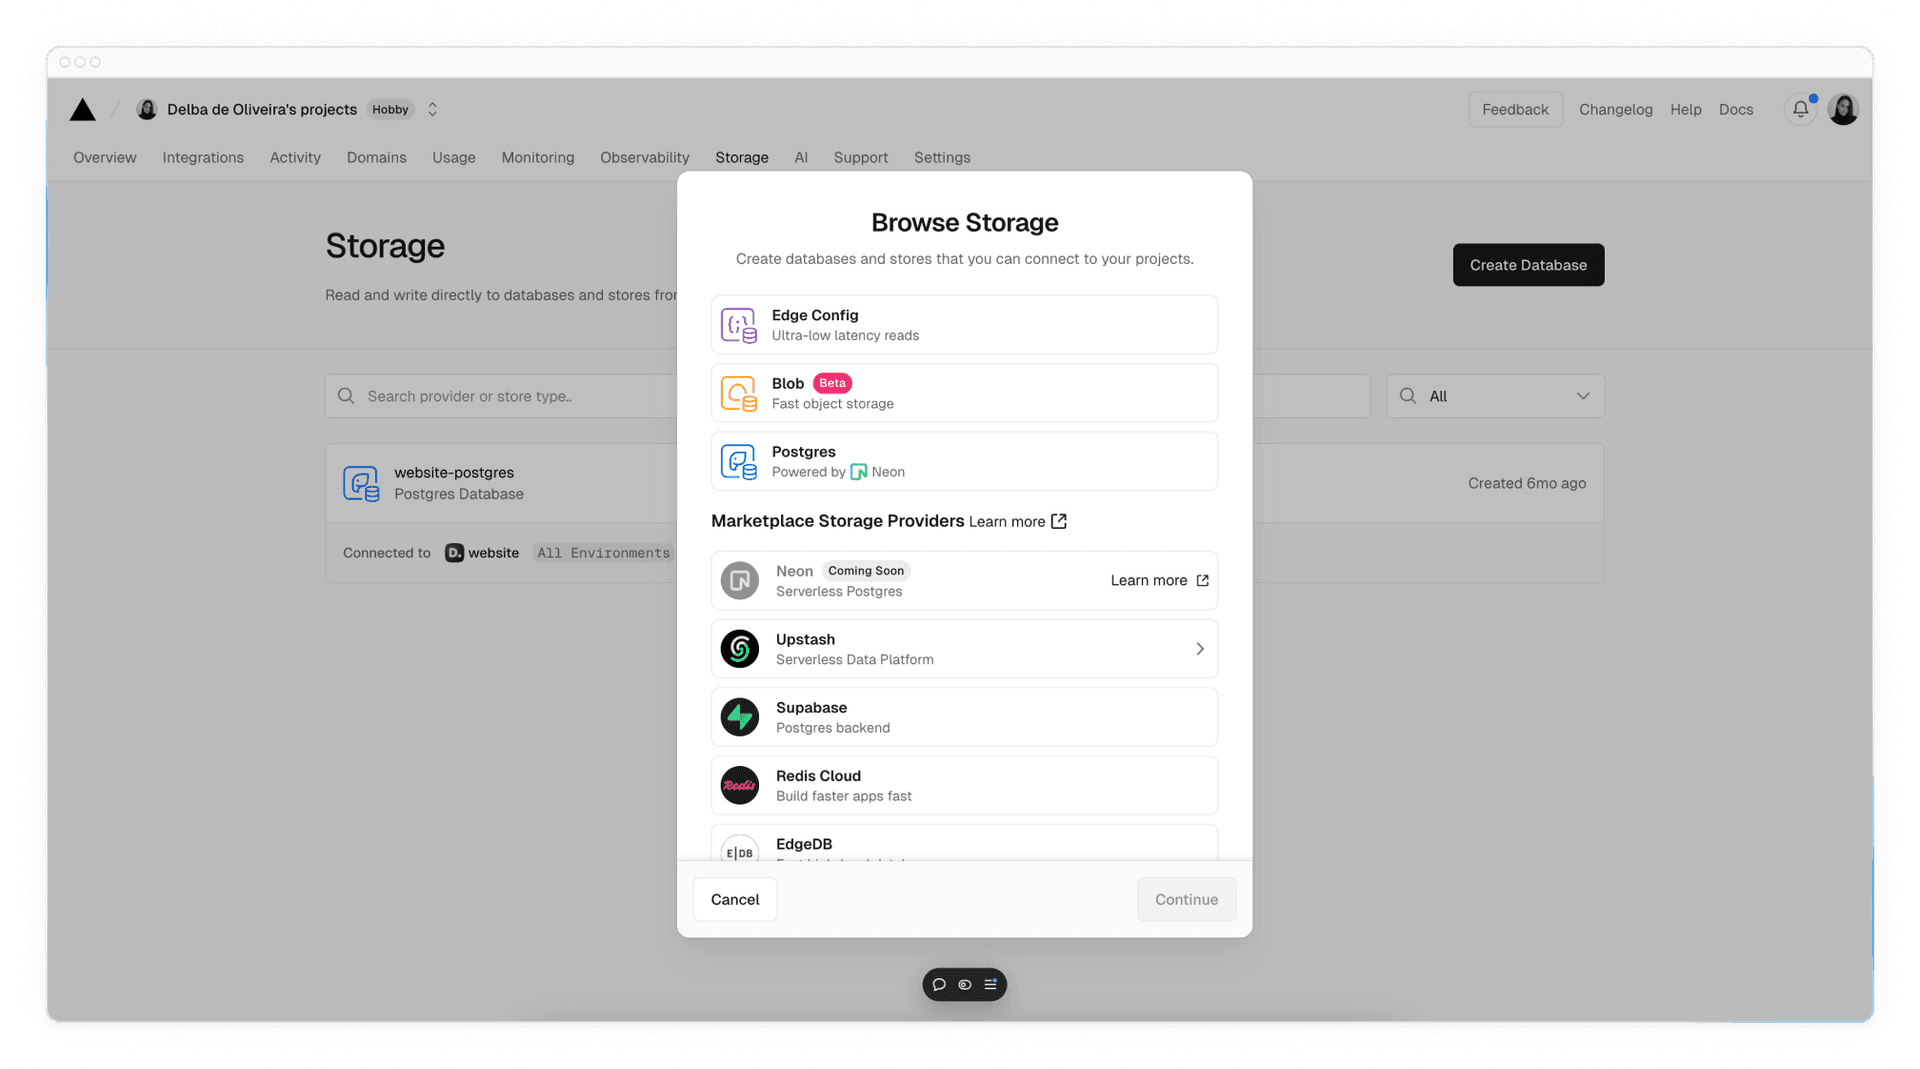
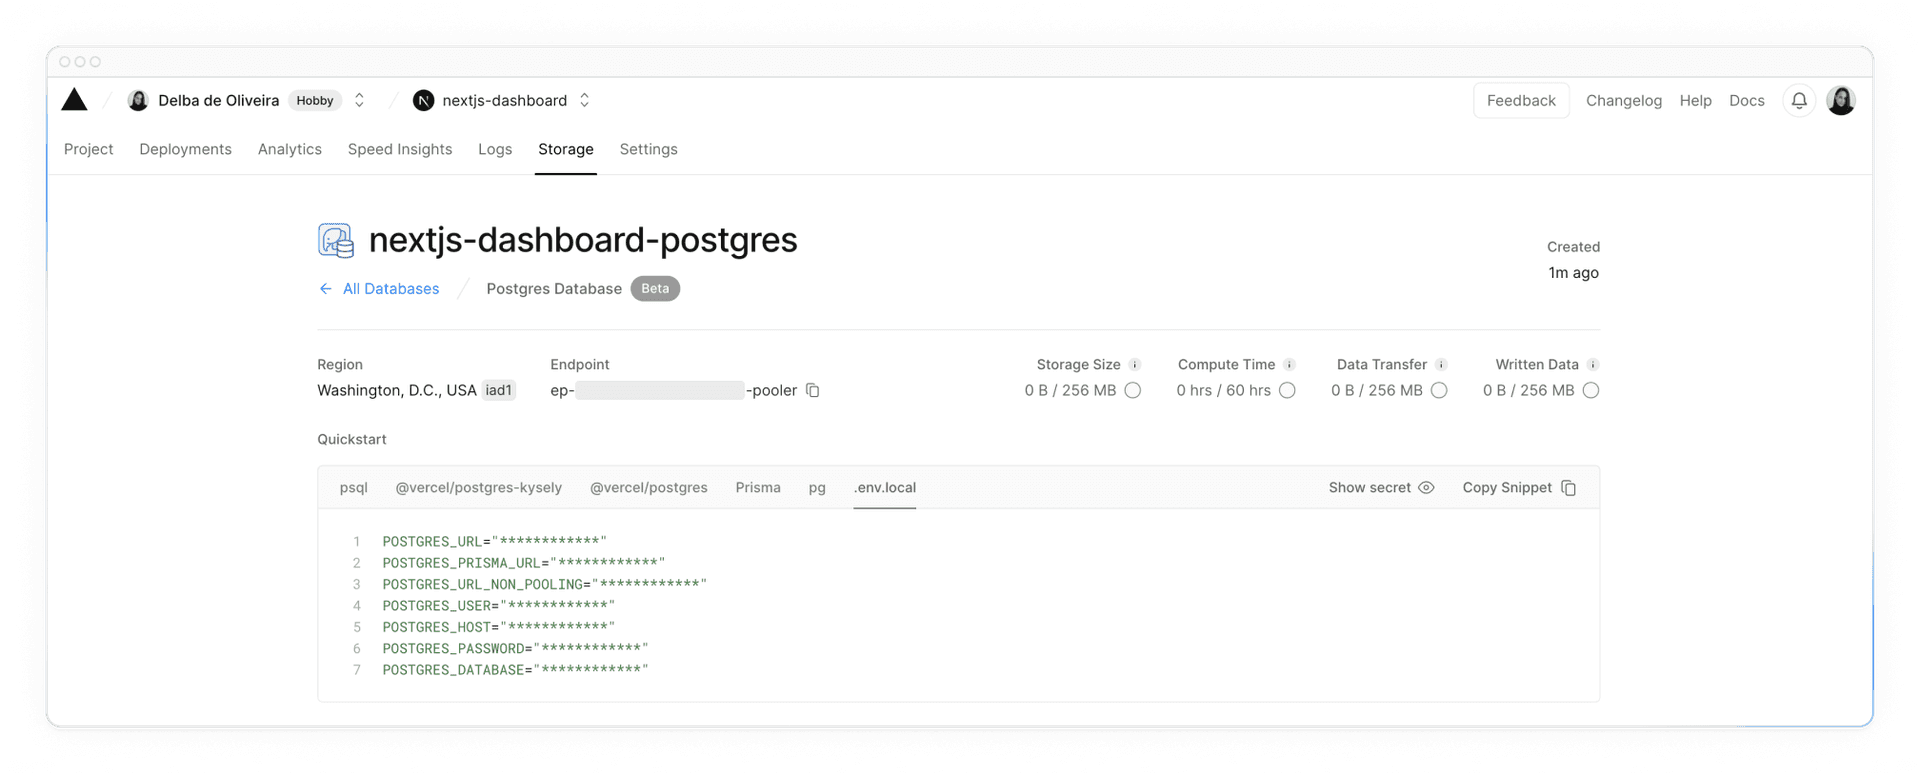
Create a Postgres database
Next, to set up a database, click Continue to Dashboard and select the Storage tab from your project dashboard. Select Create Database. Depending on when your Vercel account was created, you may see options like Neon or Supabase. Choose your preferred provider and click Continue.

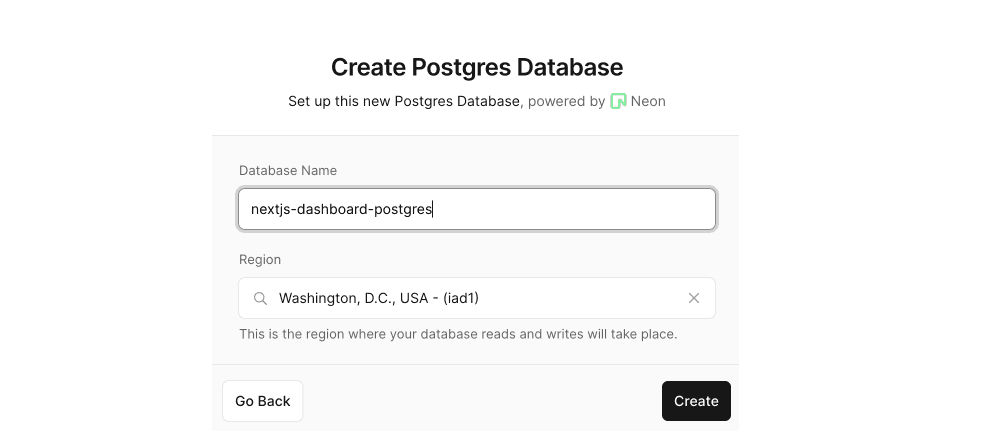
Choose your region and storage plan, if required. The default region for all Vercel projects is Washington D.C (iad1), and we recommend choosing this if available to reduce latency for data requests.

Once connected, navigate to the .env.local tab, click Show secret and Copy Snippet. Make sure you reveal the secrets before copying them.

Navigate to your code editor and rename the .env.example file to .env. Paste in the copied contents from Vercel.
Important: Go to your
.gitignorefile and make sure.envis in the ignored files to prevent your database secrets from being exposed when you push to GitHub.
Seed your database
Now that your database has been created, let's seed it with some initial data.
We've included an API you can access in the browser, which will run a seed script to populate the database with an initial set of data.
The script uses SQL to create the tables, and the data from placeholder-data.ts file to populate them after they've been created.
Ensure your local development server is running with pnpm run dev and navigate to localhost:3000/seed in your browser. When finished, you will see a message "Database seeded successfully" in the browser. Once completed, you can delete this file.
Troubleshooting:
- Make sure to reveal your database secrets before copying it into your
.envfile.- The script uses
bcryptto hash the user's password, ifbcryptisn't compatible with your environment, you can update the script to usebcryptjsinstead.- If you run into any issues while seeding your database and want to run the script again, you can drop any existing tables by running
DROP TABLE tablenamein your database query interface. See the executing queries section below for more details. But be careful, this command will delete the tables and all their data. It's ok to do this with your example app since you're working with placeholder data, but you shouldn't run this command in a production app.
Executing queries
Let's execute a query to make sure everything is working as expected. We'll use another Router Handler, app/query/route.ts, to query the database. Inside this file, you'll find a listInvoices() function that has the following SQL query.
SELECT invoices.amount, customers.name
FROM invoices
JOIN customers ON invoices.customer_id = customers.id
WHERE invoices.amount = 666;
Uncomment the file, remove the Response.json() block, and navigate to localhost:3000/query in your browser. You should see that an invoice amount and name is returned.
You've Completed Chapter 6
With your database now set up and integrated, you can continue building your application.
Next Up
7: Fetching Data
Let's discuss the different ways you can fetch data from your database, including using APIs, SQL, and alternatives.
Was this helpful?