1
Chapter 1
Getting Started
Creating a new project
To create a Next.js app, open your terminal, cd into the folder you'd like to keep your project, and run the following command:
npx create-next-app@latest nextjs-dashboard --use-npm --example "https://github.com/vercel/next-learn/tree/main/dashboard/starter-example"This command uses create-next-app, a Command Line Interface (CLI) tool that sets up a Next.js application for you. In the command above, you're also using the --example flag with the starter example for this course.
Exploring the project
Unlike tutorials that have you write code from scratch, much of the code for this course is already written for you. This better reflects real-world development, where you'll likely be working with existing codebases.
Our goal is to help you focus on learning the main features of Next.js, without having to write all the application code.
After installation, open the project in your code editor and navigate to nextjs-dashboard.
cd nextjs-dashboardLet's spend some time exploring the project.
Folder structure
You'll notice that the project has the following folder structure:

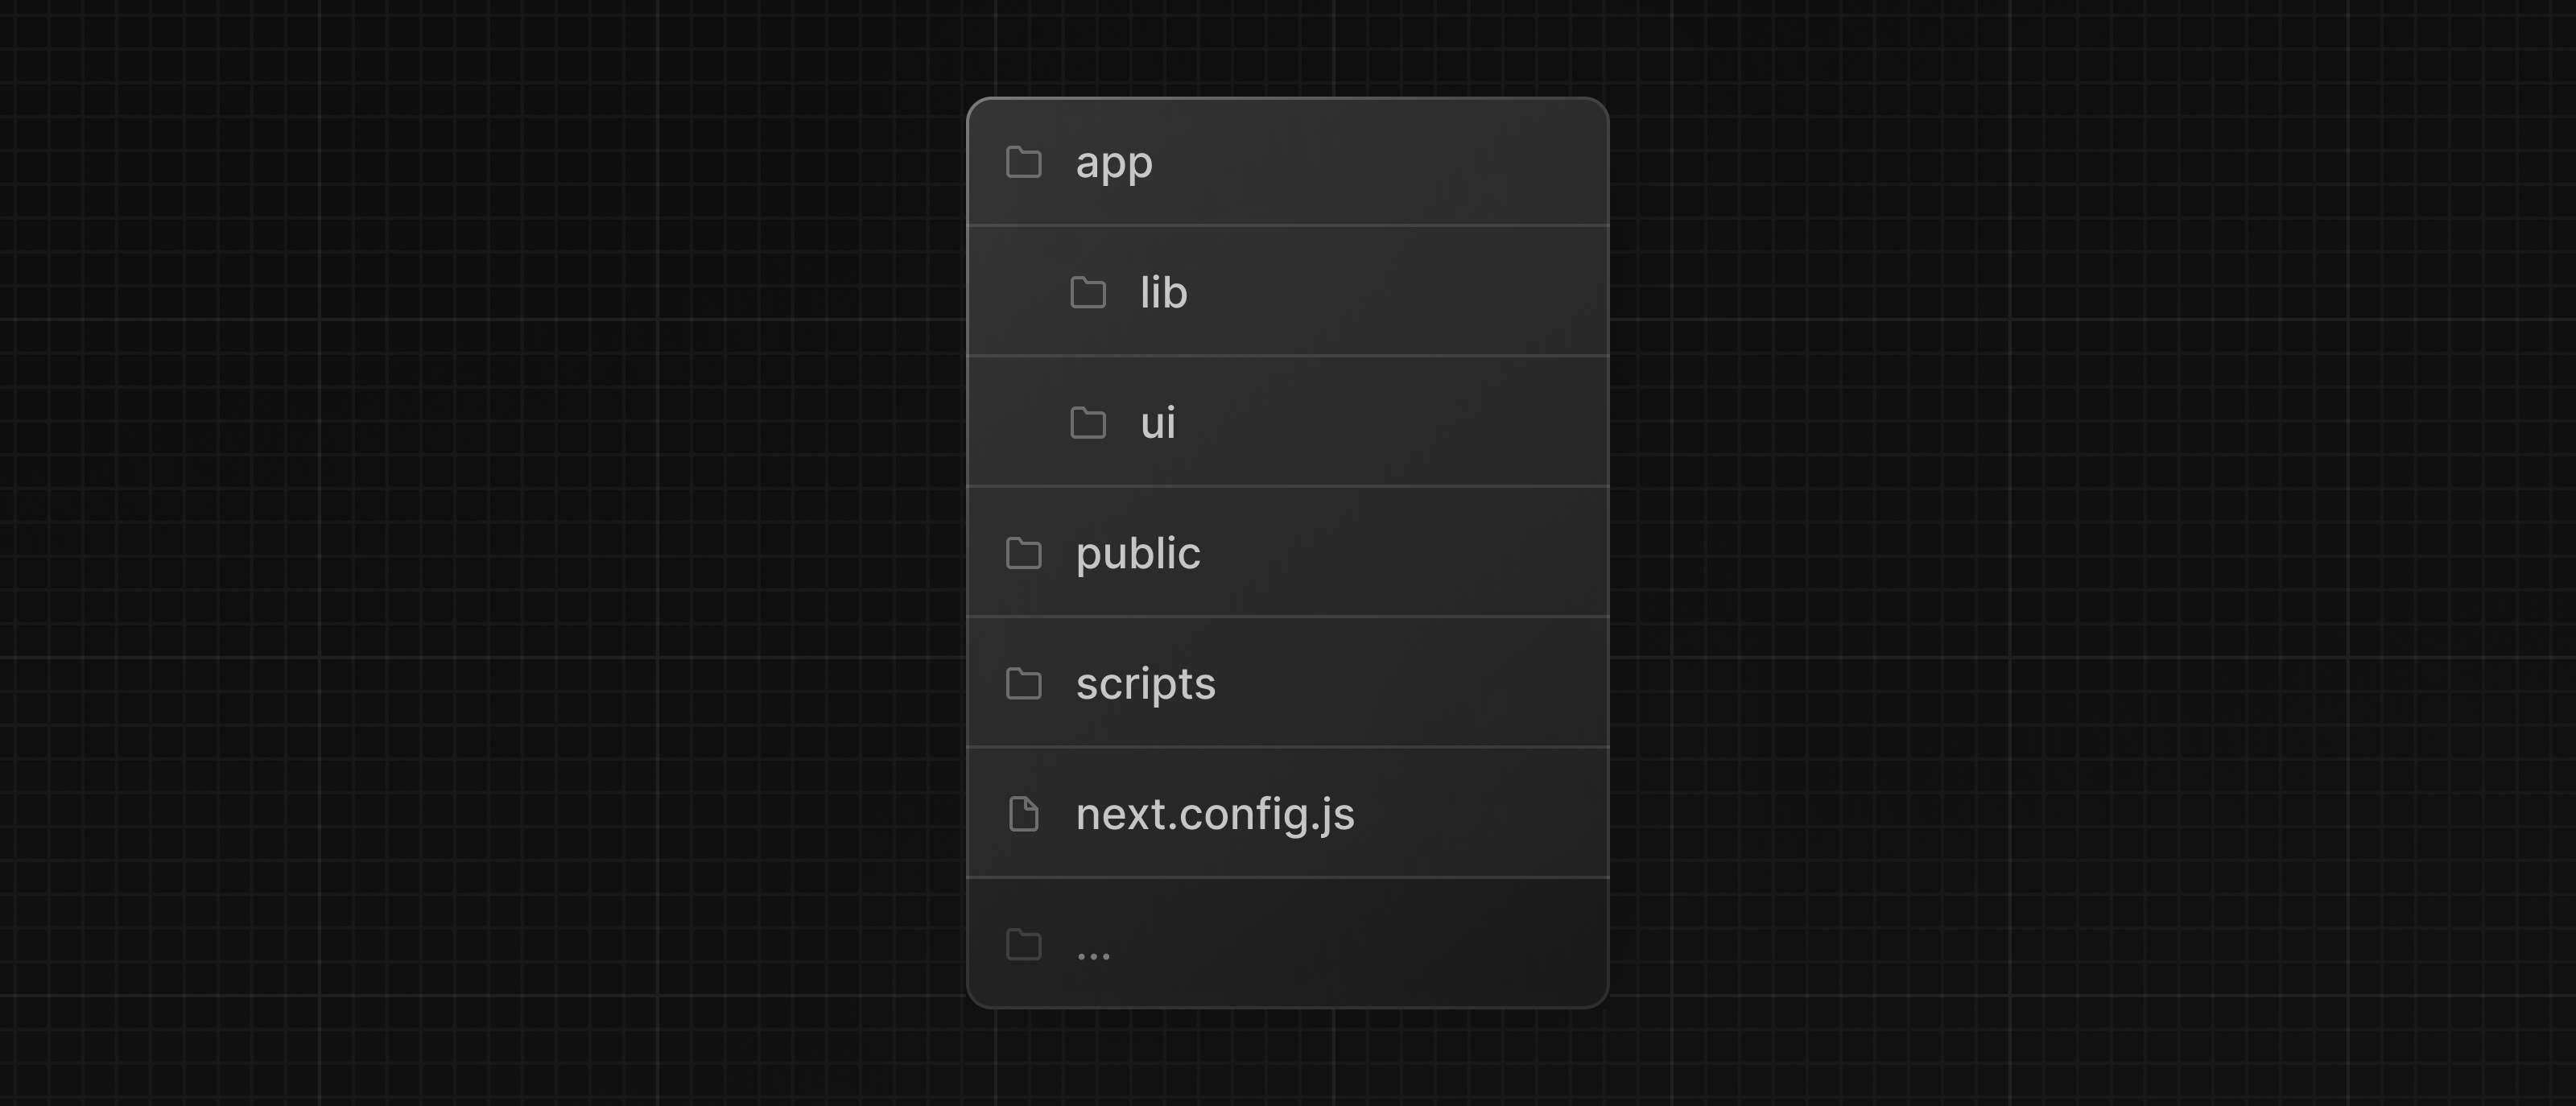
/app: Contains all the routes, components, and logic for your application, this is where you'll be mostly working from./app/lib: Contains functions used in your application, such as reusable utility functions and data fetching functions./app/ui: Contains all the UI components for your application, such as cards, tables, and forms. To save time, we've pre-styled these components for you./public: Contains all the static assets for your application, such as images./scripts: Contains a seeding script that you'll use to populate your database in a later chapter.- Config Files: You'll also notice config files such as
next.config.jsat the root of your application. Most of these files are created and pre-configured when you start a new project usingcreate-next-app. You will not need to modify them in this course.
Feel free to explore these folders, and don't worry if you don't understand everything the code is doing yet.
Placeholder data
When you're building user interfaces, it helps to have some placeholder data. If a database or API is not yet available, you can:
- Use placeholder data in JSON format or as JavaScript objects.
- Use a 3rd party service like mockAPI.
For this project, we've provided some placeholder data in app/lib/placeholder-data.js. Each JavaScript object in the file represents a table in your database. For example, for the invoices table:
const invoices = [
  {
    customer_id: customers[0].id,
    amount: 15795,
    status: 'pending',
    date: '2022-12-06',
  },
  {
    customer_id: customers[1].id,
    amount: 20348,
    status: 'pending',
    date: '2022-11-14',
  },
  // ...
];
In the chapter on setting up your database, you'll use this data to seed your database (populate it with some initial data).
TypeScript
You may also notice most files have a .ts or .tsx suffix. This is because the project is written in TypeScript. We wanted to create a course that reflects the modern web landscape.
It's okay if you don't know TypeScript - we'll provide the TypeScript code snippets when required.
For now, take a look at the /app/lib/definitions.ts file. Here, we manually define the types that will be returned from the database. For example, the invoices table has the following types:
export type Invoice = {
  id: string;
  customer_id: string;
  amount: number;
  date: string;
  // In TypeScript, this is called a string union type.
  // It means that the "status" property can only be one of the two strings: 'pending' or 'paid'.
  status: 'pending' | 'paid';
};
By using TypeScript, you can ensure you don't accidentally pass the wrong data format to your components or database, like passing a string instead of a number to invoice amount.
If you're a TypeScript developer:
- We're manually declaring the data types, but for better type-safety, we recommend Prisma, which automatically generates types based on your database schema.
- Next.js detects if your project uses TypeScript and automatically installs the necessary packages and configuration. Next.js also comes with a TypeScript plugin for your code editor, to help with auto-completion and type-safety.
Running the development server
Run npm i to install the project's packages.
npm iFollowed by npm run dev to start the development server.
npm run devnpm run dev starts your Next.js development server on port 3000. Let's check to see if it's working. Open http://localhost:3000 on your browser. Your home page should look like this:


You've Completed Chapter 1
Congratulations! You've created a Next.js application using the starter example and ran the development server.
Was this helpful?